of the
Inspired by our rather radical approach to enforcing development discipline, Andre “I’ve got 88 in my handle” Margono decided to pick on another sinful habit in development, this time within plugin development.
Corporal punishment triggering behavior this time is to select all attributes as filtering attributes for Update message.

Unfortunately, plugin registration tool that comes with CRM SDK encourages this behavior by automatically pre-selecting all attributes for new steps.
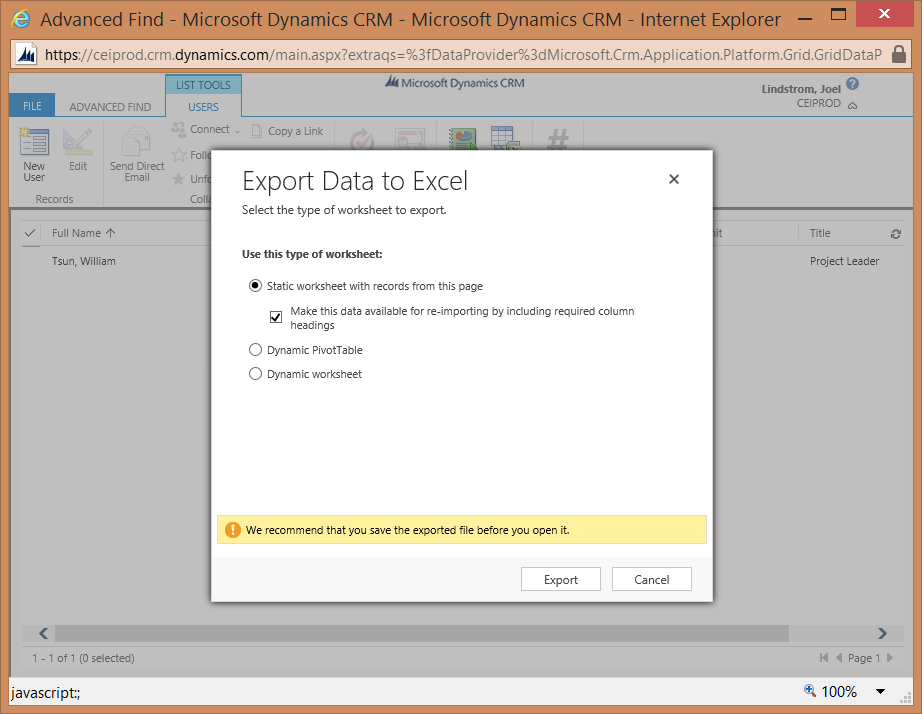
With the CRM 2013 auto-save functionality, imagine how many redundant plugin executions triggered if the list is not filtered (every 30 seconds or when navigates away from the current form).
To filter that list in Visual Studio Development Toolkit:
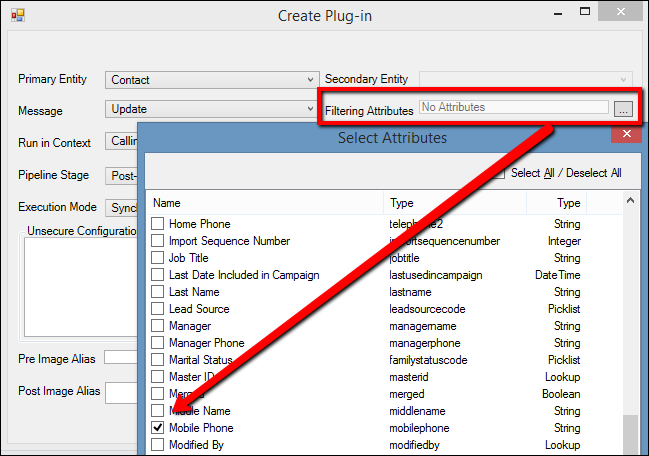
or in the plugin registration tool:
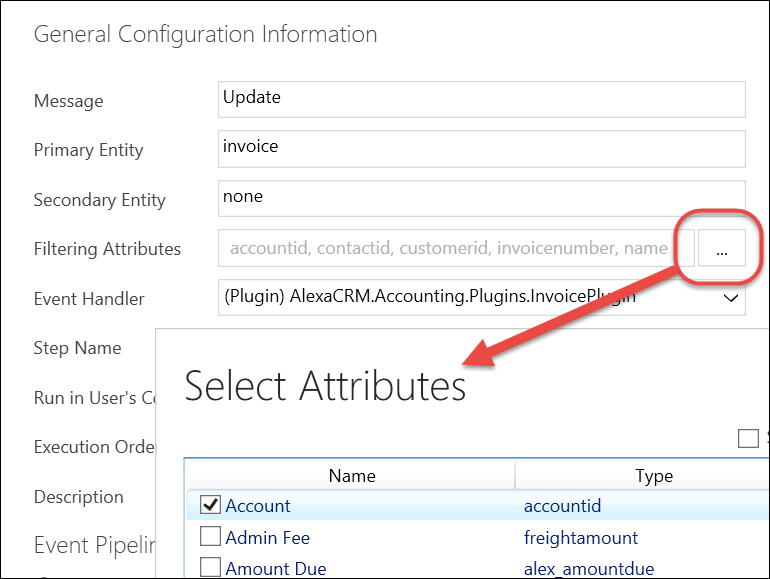
With the list restricted to the attributes your plugin cares about, the code will only be executed when any of these attributes are changed.


 One year ago, we published our first tip,