of the
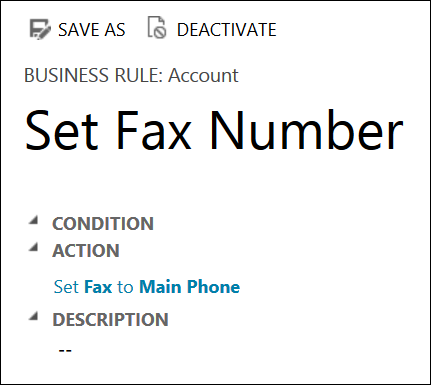
Say, you want to do some checks for inbound emails on Senders Account.
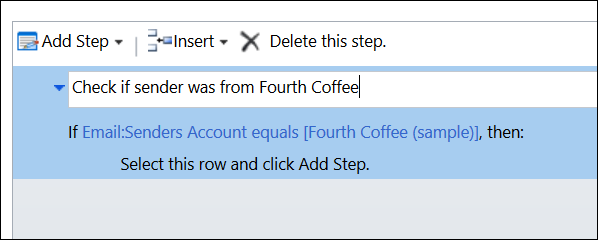
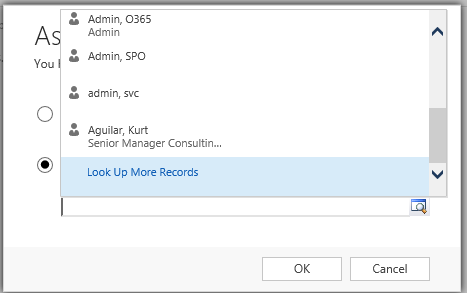
It will work well until one of other email-enabled entities (typically systemuser) has a record with the same email address. Having multiple system entities (systemuser, contact, account) with the same email is a bad idea because, when system starts matching sender’s email to figure out which entity record can be marked as a Sender for the email, it will go in the order of creation. So if you happen to have a system user that shares email address with a contact from a Fourth Coffee, the condition above will never trigger causing you hours of despair and lost sleep. Keep. Your. Emails. Unique.