of the
You create a Power Apps trial at www.powerapps.com, but if you try to create an environment with a CDS database you get an error that adding a database requires at least 1 GB of free space.
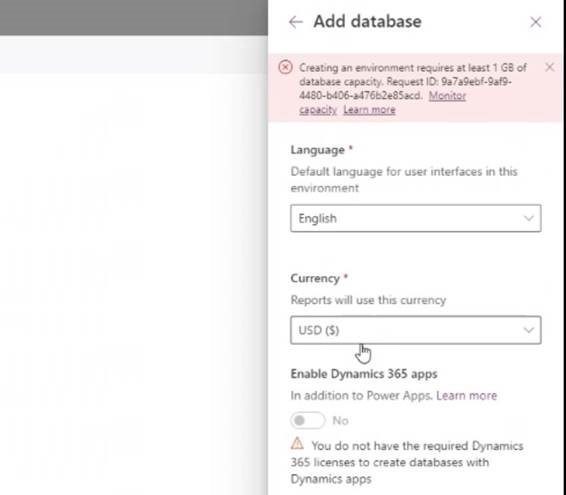
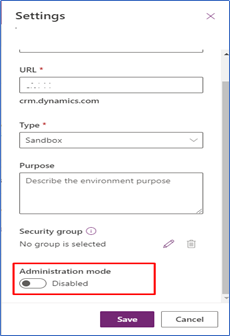
The reason you are getting this error is because when you create the environment, you choose what type of environment it is, and the default choice is sandbox. Sandbox environments require that you have paid storage capacity. But if you choose “trial” for the environment type, you should be able to create your environment with no problem.
Tîpp Jäår $0.02 + GST
What sets the trial aside is that it’s a time-limited environment. It will expire in 1 month unless you convert it into a production environment. Sandbox is treated the same as production, i.e. it does not expire.
Cover photo by Karlie Mitchell