Tip #653: Tipster guide to Dynamics CRM 2016 Spring Update – Part III – Interactive Service Hub Enhancements

Pie chart
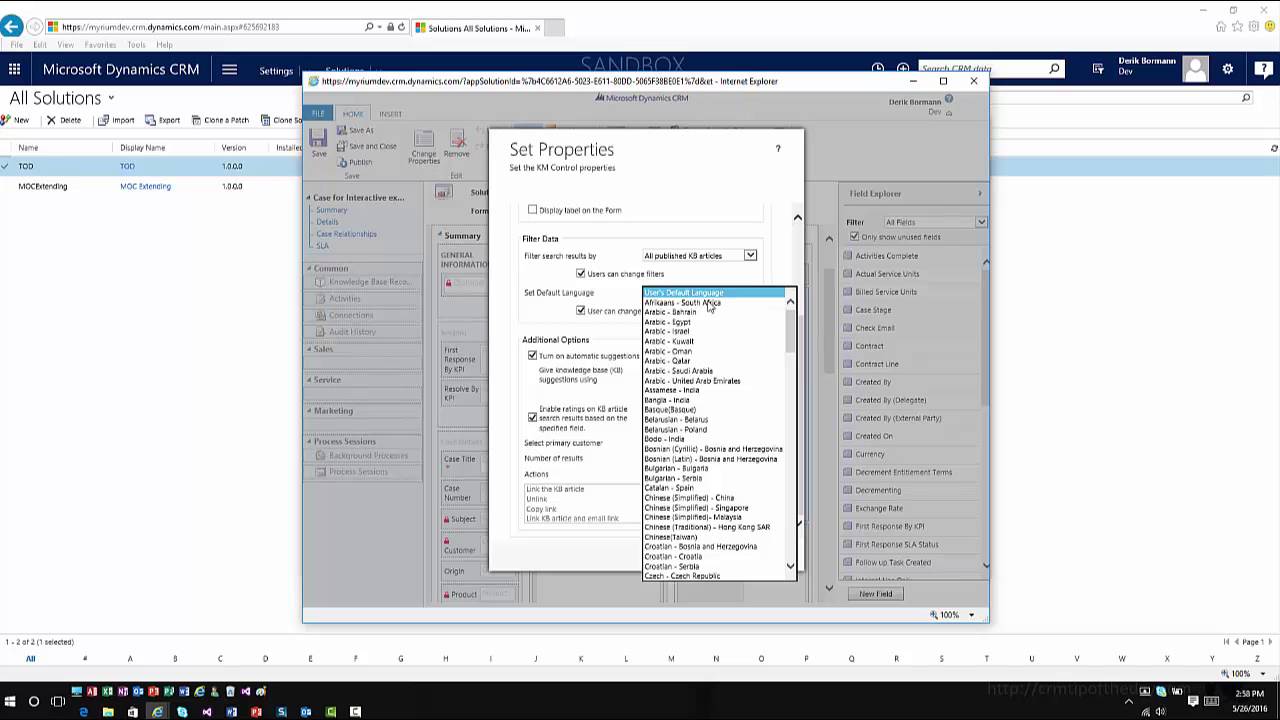
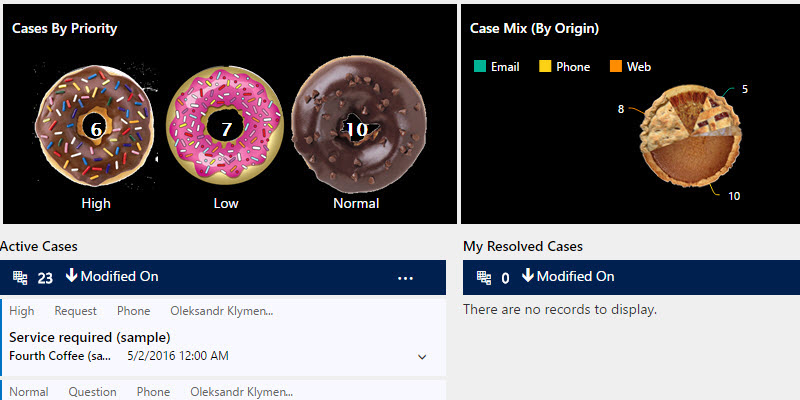
Spring Update 2016 has introduced several enhancements to Interactive Service Hub. The first is directly related to customizing and extensibility with the ability to add iframes and Web Resources to ISH forms. Also added, is the ability for users to work with article translations that are not in their native language.

YouTube player

Give us your feedback, all of it: good, bad, and ugly, I’m sure we can take it. Suggest new topics either in comments or by sending your ideas to jar@crmtipoftheday.com.

And don’t forget to subscribe to http://youtube.com/crmtipoftheday

Tip #652: Promote to admin explained

Chosen OneI’ve already seen some articles about “Promote To Admin” button, new in Microsoft Dynamics CRM 2016 Update 1, explaining in details how this button makes admin life easier by allowing quickly grant a user System Administrator role.

All of the articles miss one important function that this button allows you to do. The functionality we’ve been wanting for years.

PROMOTE TO ADMIN button allows authorized users to impersonate end-user roles

(What does “authorized” mean here? Keep reading)

If you have system administrator role, try the following:

  1. Ensure that there are other system administrators in the systems. In case something goes wrong and you remove all of your privileges, they will be able to bail you out.
  2. Grant yourself a self-sufficient role or combination of roles. By self-sufficient I mean a role that allows you to logon and operate Dynamics CRM as a user. For example, Customer Service Representative gives you access to the UI and CRM goodies while Survey User, part of the Voice of The Customer solution, is an additive role that is not self-sufficient and won’t let you to logon.
  3. Remove System Administrator role. You will get a warning about the world end, ignore. (You did ensure that there are other system administrators in the system, right?)
    System administrator warning
  4. Hit Ctrl-F5 to fully refresh the browser session. You are now Customer Service Representative or whatever role you have granted. Boom!
  5. Promote to admin button
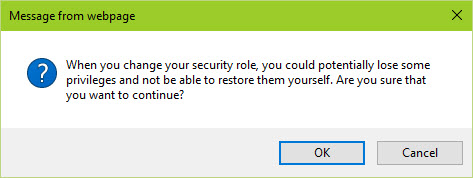
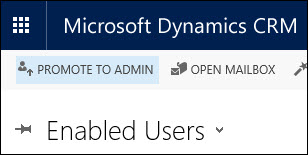
When done playing with the role, go to Settings > Security > Users, select yourself and press Promote To Admin. You’re back to system administration. Badaboom!

That’s how all new trials are tailored when you select a specific role during the trial provisioning.

Under the hood

There is a new privilege Promote User to Microsoft Dynamics CRM Administrator Role (prvPromoteToAdmin in nerd-speak).
Promote to admin privilege
Note that it’s not enabled for System Administrator role.

Support User role
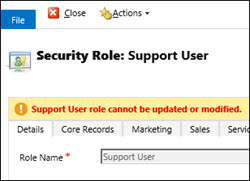
So how does this privilege stays with the original user? It’s granted via hidden role Support User which you can find using Advanced Find.

Warning: Use this massive knowledge at your own risk and don’t drink and administer the system.

Tip #651: Copying word templates between CRM deployments

Sniper TemplateAs you all know (or will know in a second), each entity in CRM has a logical name as well as a number (entity type code). In most places, names and numbers can be used interchangeably, e.g. when opening forms, views, dialogs and reports.

While the name, guarded by the publisher’s prefix, does not change between the deployments, the number can change when your solution is installed on another CRM system. “No problem”, you say, “I’ll always use the name”, you say. And that would be the right move that works most of the times.

However, there is an issue with CRM 2016 Word Templates in that it keeps a reference to the entity type code inside the word document xml (schema has something like ‘xmlns: http://crm-blah-blah.com/blah/entity_name/entity_typecode’. So when you deploy a solution to another system, these codes can change and, because the word template xml don’t know about these changes, if you upload via the UI the template ends up being tied to the wrong entity!

Good news: Gayan “Performance Wizard” Perera built a tool that will move word templates from one system to another. If it detects mismatching entity type codes, it’ll tweak the word template and upload.

Download the tool.

Tip #650: The real role to manage Dynamics CRM Online

Role playing gameFew days ago we explained how to give your O365 users ability to manage CRM Online features but without being a Global Administrator. O365 admin portal UI gave us Service administrator role. We suspected it’s too much but decided to let it go for the sake of simplicity.

Thanks to the insight from Hans Worst (really?), we now know that there is a very aptly named CRM Service Administrator role but it’s only available via Powershell.

connect-msolservice

Add-MsolRoleMember 
   -RoleName "CRM Service Administrator" 
   -RoleMemberEmailAddress "foo@barbaz.com"

To run this snippet you’ll need Azure Active Directory Cmdlets, if you don’t have them installed already.

Warning! Once you assign this role, do not manage role assignment for this user in O365 portal – this role won’t be visible and it’s too easy to unassign it by accident.

Tip #648: Are you Power BI Pro?

When you’re trying to connect Power BI to Dynamics CRM by entering Dynamics CRM OData Service URL, you may receive an obscure message “Parameter validation failed. Please make sure all parameters are valid.”

Error connecting Power BI to Dynamics CRM

What Power BI is trying to tell you is that the license assigned to you is the Power BI freebie and not the Power BI Pro goodness.

Klein bottle
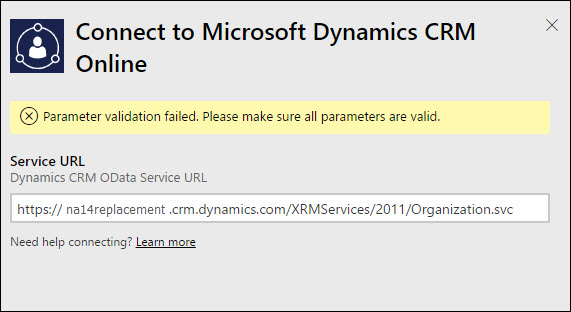
Be a pro, go back to O365 Admin Portal and assign the correct license. Don’t have it? Free trial is available and it’s only $9.99 per month for many hours of entertainment trying to build a Klein funnel bottle out of your sales data.

Tip #647: Tipster guide to Dynamics CRM 2016 Spring Update – Part II – Mobile Offline Syncing

Mobile OfflineAs always the annual spring update for CRM online is introducing many new features and improvements. One of those is Mobile Offline Synchronization. In this video we look at requirements for the feature, and walk through setup and configuration (including defining offline profiles, and controlling what data is available).

YouTube player

There might be a part III, after all, – stay tuned. In the meantime give us your feedback, all of it: good, bad, and ugly, I’m sure we can take it. Suggest new topics either in comments or by sending your ideas to jar@crmtipoftheday.com.

And don’t forget to subscribe to http://youtube.com/crmtipoftheday

Tip #646: Illustrated guide to entity creation in Dynamics CRM

Spießrutenlaufen is everywhere. Even fundamental actions like creating a new entity in CRM are subject to irreversible hasty choices that we all come to regret later.

Introducing CRM Tipsters Illustrated Guide to Entity Creation in Dynamics CRM.

CRM Tipsters Illustrated Guide to Entity Creation in Dynamics CRM

Download a full size image or a hi-res PDF version.

Tip #645: Name that address

Return to sender
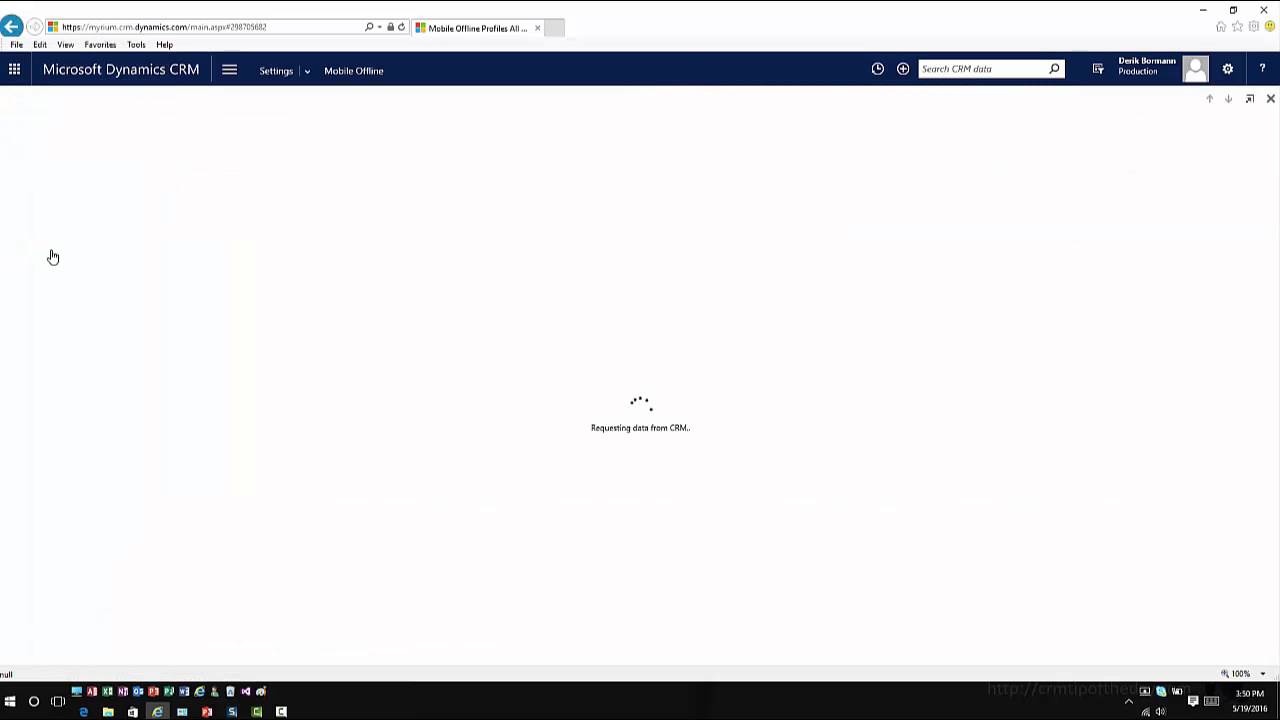
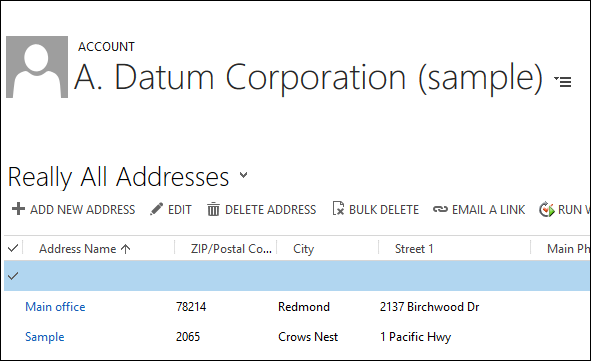
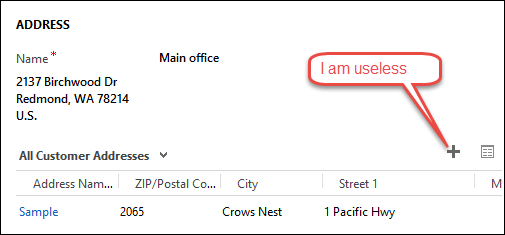
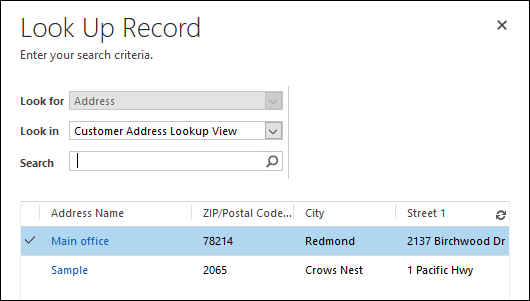
If you want to take advantage of an obscure Lookup Address feature when dealing with quotes or orders, you will find that the address lookup on that dialog looks very strange: first line is blank followed by the zip/postal code and city. In addition, how do you add multiple addresses to a customer record in a first place?

  1. Edit customer (account or contact) form and add addresses back to navigation pane. That will give you an ability to edit additional addresses besides the first two.
  2. First two are special. They will not appear in any of the views including All Customer Addresses. All means all but the first two (also known as address1 and address2). The only way to see them in that grid is to create a personal view since there is no option to add system views to the address entity. Careful though – this will display first two addresses whether you entered them or not.
    Blank address on All Addresses personal view
  3. The Lookup Address will list all addresses including first two. Except that the first two do not have the names. Add Address 1: Name field to the customer form just before the address and, if you insist, make it business required. You can optionally add a “More addresses” sub-grid.
    Address name and subgrid
  4. Now we have more or less usable Lookup Address dialog. Note that it does not list empty addresses, unlike your custom view.
    Lookup dialog with all addresses listed

Bonus

Tip 23 has become a dangerous one.
Non-editable address views
This is because associated addresses view has been “enhanced” to support customer entity and contains non-editable elements (references to objecttypecode, if you must). Edit it at your peril.

Verdict

Unless you inherited a CRM system or users insist on built-in multiple addresses functionality, I’d say it belongs to “It was a good idea…” bucket and recommend staying clear of it. Too unpredictable, hardly documented and loaded with side-effects.

Tip #644: Async Dynamics CRM awaits you

Hanging minesweeperGayan “Performance Wizard” Perera hates waiting. Be smart, be like Gayan.

For anyone who’s been waiting to get async/await support for the CRM SDK, you can now get a simple extension class from https://github.com/NZxRMGuy/crmsdk-async

The downside with my one is that it’s a wrapper around the sync method – some people do frown upon this since it is not true async. (and we frown upon those people – t.j.)

Bonus – OptimizedConnection class based on the https://pfexrmcore.codeplex.com/ to get true parallelism with the CRM SDK.