of the
There are 10 ways to keep you organization on a diet but only one way to find out what’s going on (more or less).
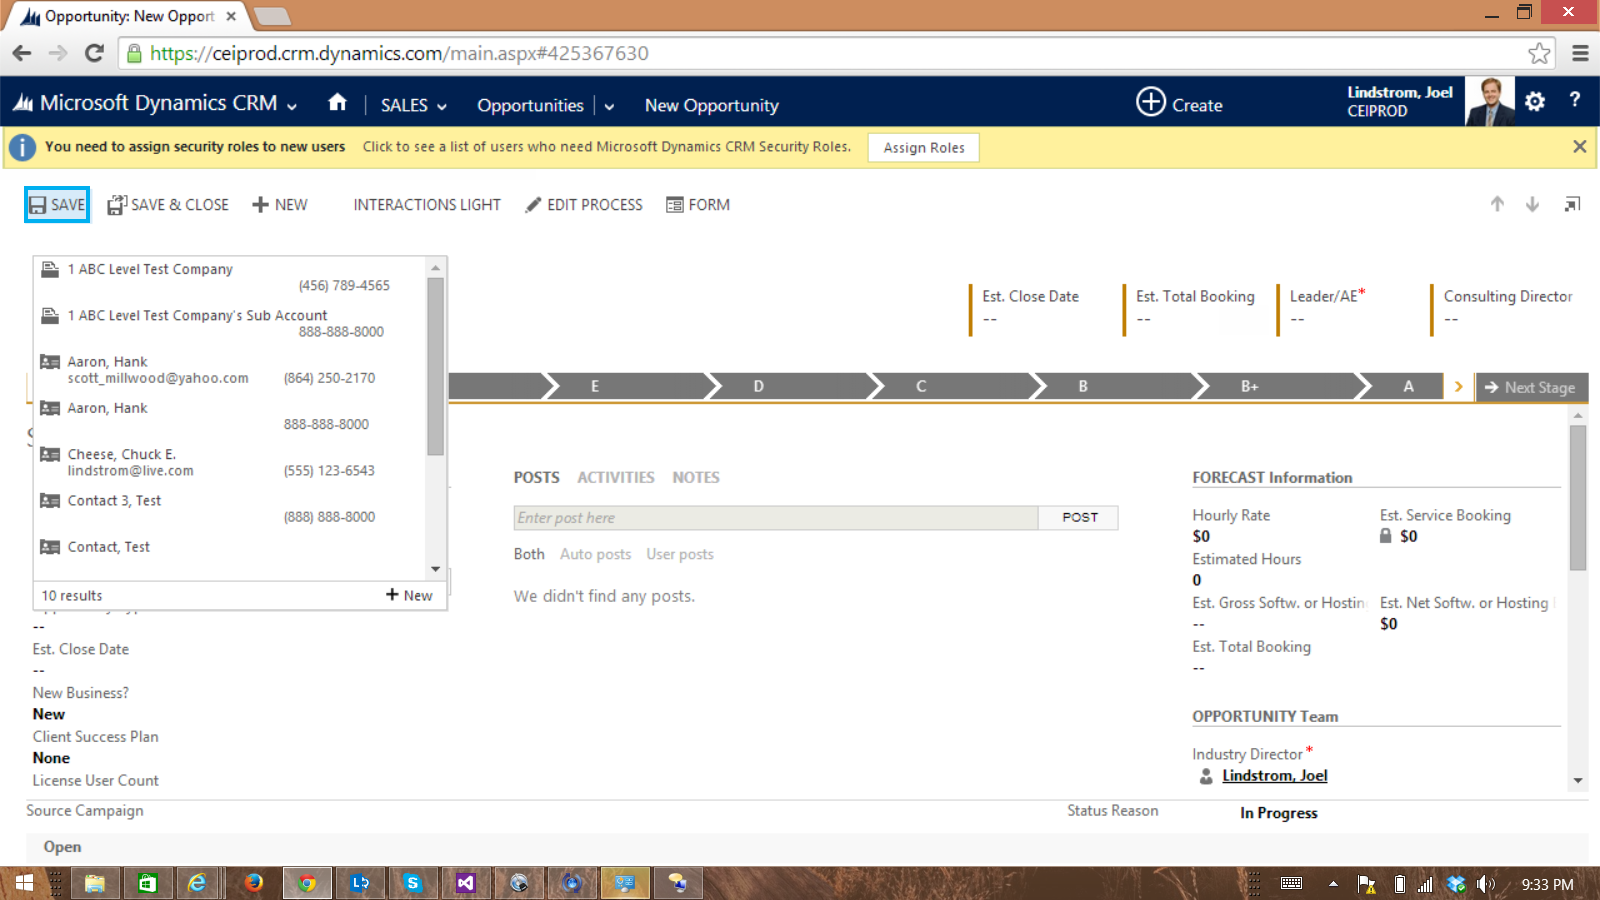
if you are a system administrator, click (or, as we say these days, tap) Settings > Administration > Resources In Use. Besides the storage figures (which are conveniently broken down by organization if you have more than one on the same subscription), you’ll see how many custom entities, workflows and dialogs have you used (all limited resources).
This tip is brought to you by Andre “I’ve got 88 in my handle” Margono.