of the
tl;dr
Always use formatDateTime(), substring(), convertFromUtc(), convertTimeZone() to drop the time part and ensure the dates are in the same timezone.
!tl;dr
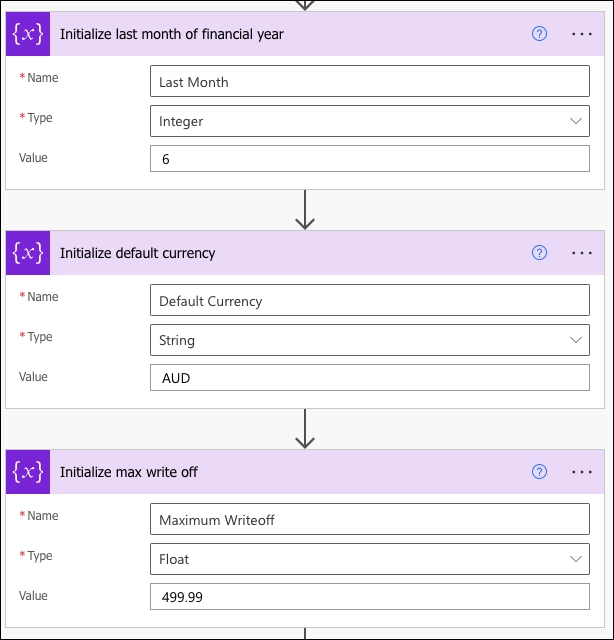
The datetime isn’t of any special type in Power Automate; it’s just a string representation of a timestamp in an ISO format. Yes, the format is sortable, so in theory, you could compare just the values. However, if you have a date input parameter in your flow, it comes as a date without any time part, so you might miss that birthday when comparing it to utcNow()!
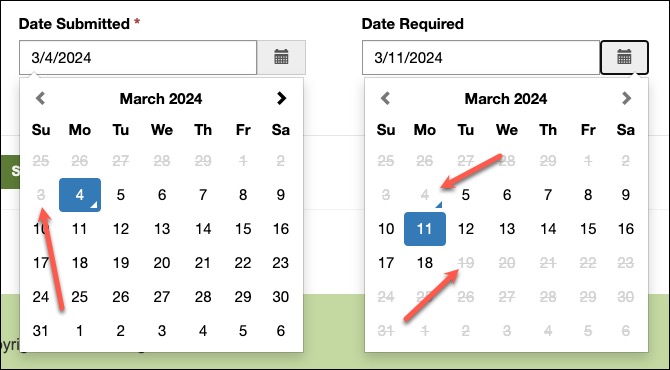
To further complicate matters, datetime values include both the time portion and a timezone indicator. What is today for you can be yesterday or tomorrow for other people. Time difference can be up to 25 hours (don’t get me started on that Samoa vs American Samoa trip again). And do you really want to compare seconds if you’re after just the date?
Life becomes much easier if you follow two rules:
- Bring timestamps into the same timezone.
- Extract and compare just the date portion.
The following functions come to the rescue (yes, I am aware there are actions doing the same thing).
formatDateTime(date, 'yyyy-MM-dd')– just the date portionsubstring(datetime, 0, 10)– just the date portionconvertFromUtc(datetime, 'Samoa Standard Time‘, ‘yyyy-MM-dd’)– if your user in +13 timezoneconvertTimeZone(datetime, 'UTC-11', 'Samoa Standard Time', 'yyyy-MM-dd')– convert American Samoa date prior to comparing to the date in Samoa (be very surprised)
Timezones always do my head in (would it be so hard to make them an enumeration?!). Here’s the current list: Default Time Zones | Microsoft Learn. Perhaps I should create a Code only Connector (CoC) for it, so I don’t have to remember the list?


![Witch Mountain meme with the following dialog:
two characters in a car having a technical discussion, which could be imagined as:
Character 1 (top panel, speaking seriously): “Our Dataverse telemetry indicates formula columns aren’t being leveraged for generating monetary returns.”
Character 2 (middle panel, with a questioning expression): “Maybe it’s because currency formula columns can’t be produced?”
Character 1 (bottom panel, looking puzzled or skeptical): [No text, just the character's reaction]](https://crmtipoftheday.com/wp-content/uploads/2024/03/witch-money.jpg)