 of the
Let me start 2022 slowly, with a tip how to avoid annual cleanup. It all started with this email:

Darn, I completely forgot about those folders and big thumbs up to Richard for reminding me. Richard is one in a million though, most would simply ignore the shared folders. Until such time when you drop some sensitive files in there.
How to avoid this unnecessary stress and reliance on Richards of this world to do the right thing? Simples:
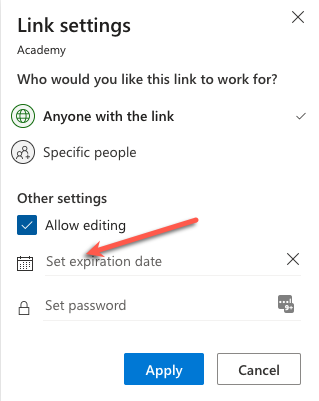
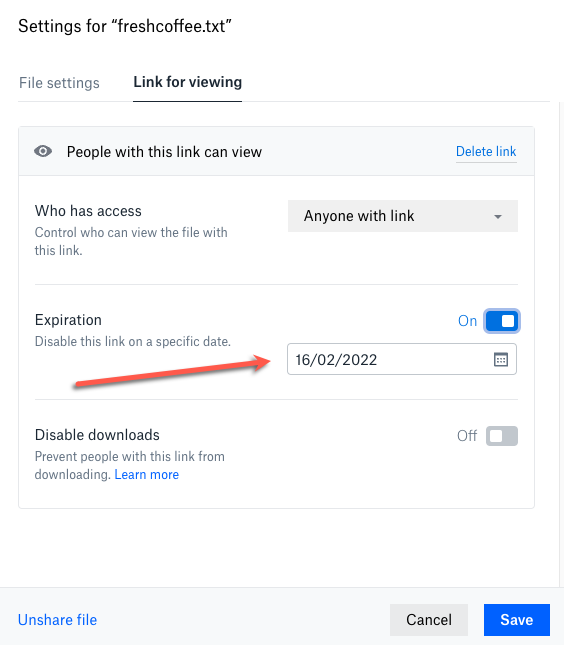
Always set the expiration date when sharing folders or files
Thee Nabler
I don’t care what it is. Could be tomorrow, could be 5 years from now. But do set it and spare yourself potential embarrassment at best and the jail time at worst (I’ve seen it in a movie, totally plausible scenario). Almost like in the song:
- OneDrive has it
- Dropbox has it
- Even SharePoint has it: Best practices for unauthenticated sharing | Set An Expiration Date For Anyone Links | Microsoft Docs
Go ahead and share but trust no one. (So much for faith in humanity in 2022)
Cover image by Gerd Altmann
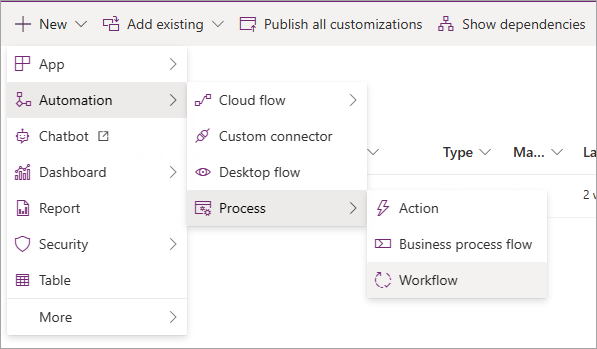 Automation > Process > Workflow”>

