of the
Update: this can also be caused by system views being deactivated. See https://support.microsoft.com/en-us/help/4338690/the-view-is-not-available-error-message-appears-when-opening-an-email
—————————————
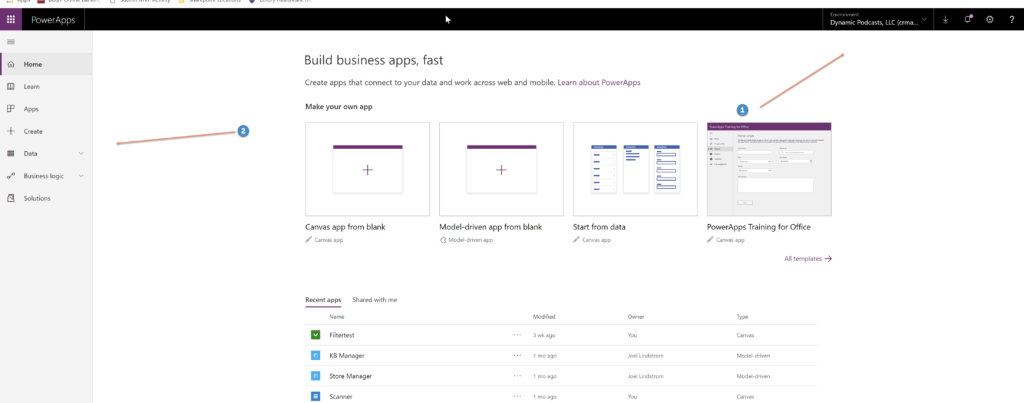
You open Dynamics 365 App for Outlook and you see an error in the Outlook app pane saying “View is not available. Contact your administrator.”
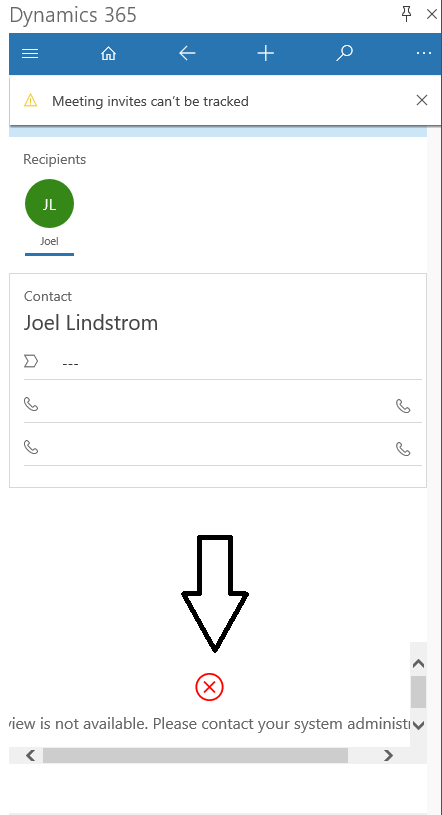
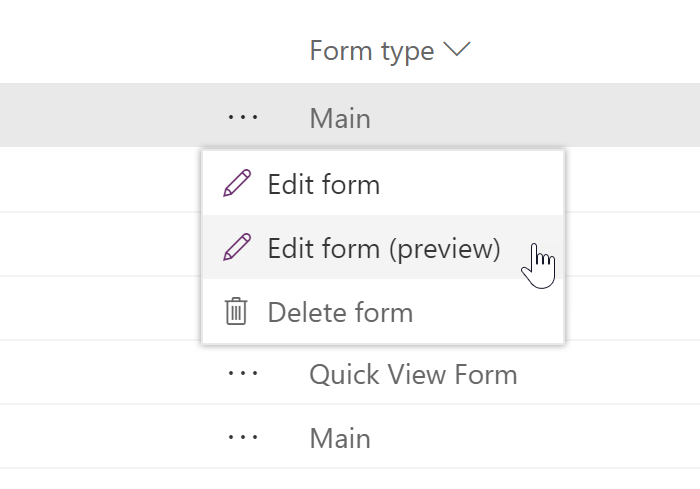
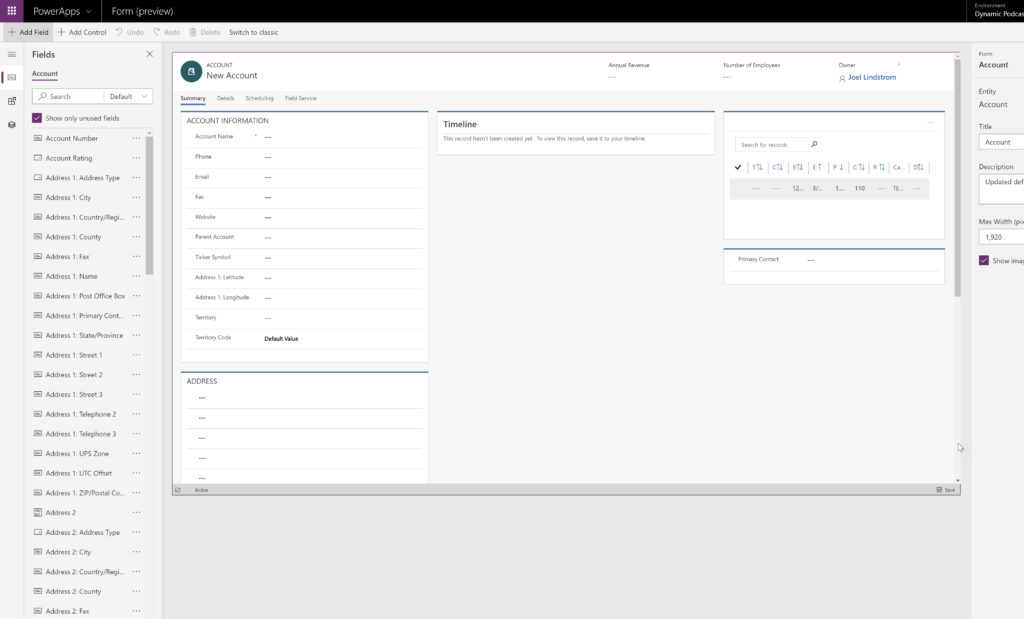
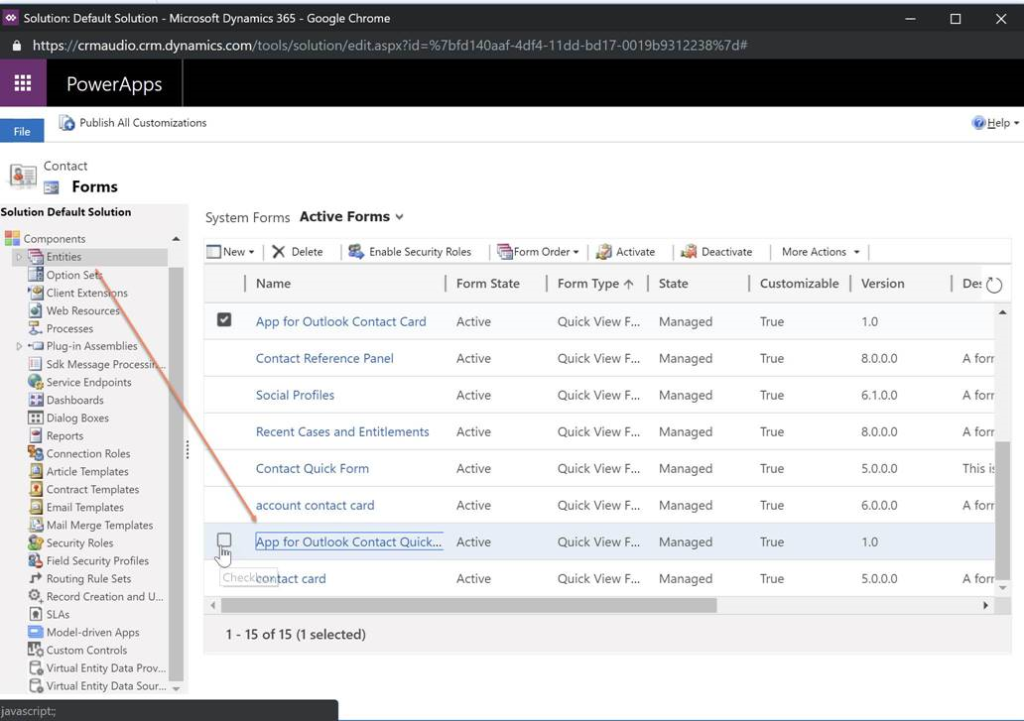
This part of the pane is a form in the contact or lead entity called the “App for Outlook Contact/Lead Quick View Form.”
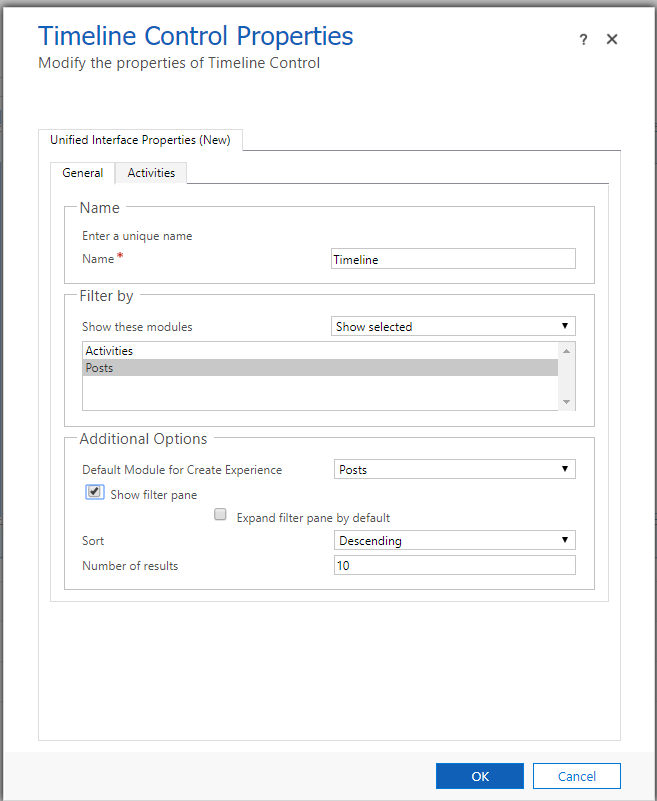
this subgrid displays views for related activities, opportunities, and cases. If your role does not include view permission for one of these entities, you may see this error.
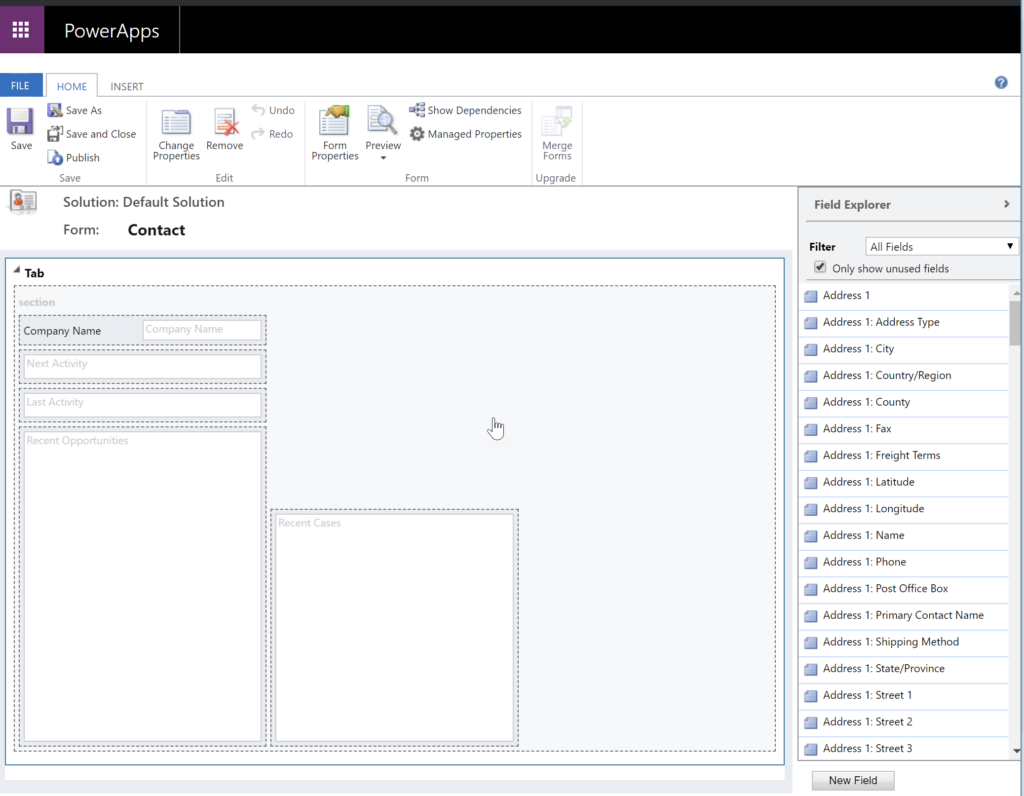
So if your users don’t have access to cases, you can remove the case subgrid from this form. I found this to be a bit finicky–select the case grid and click remove. In my testing the case grid frame still displayed on the form, but after saving and closing, the grid was gone.
(Cover photo by Jamie Street on Unsplash )